Showing posts with label Pterodactyl Build. Show all posts
Showing posts with label Pterodactyl Build. Show all posts
Tuesday, March 13, 2012
2nd outing with the Pterodacty - Flight Video
Here's the video of the 2nd outing with the Pterodactyl

Monday, March 12, 2012
The Pterodactly takes to the skies again
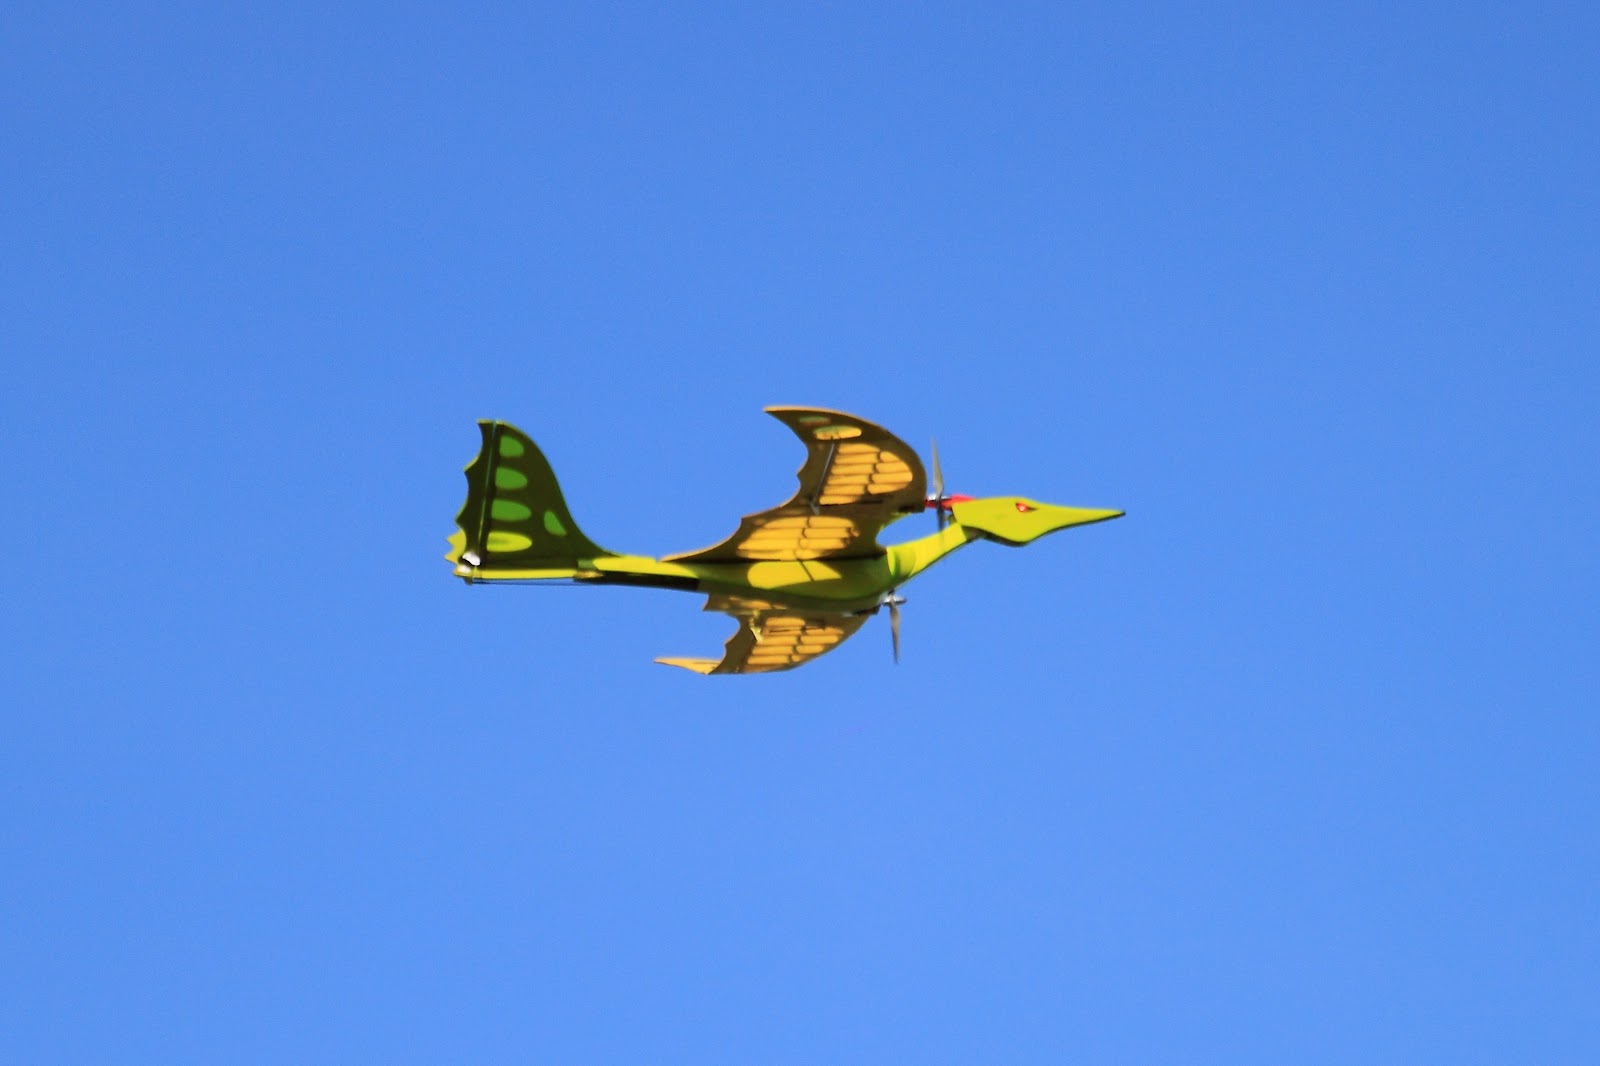
The Pterodactyl took to the skies again on Sunday 11th March
2012 where the following stunning pictures were captured by LMAC Chairman Andy
Prime (see more of his
work here). The beautiful clear blue skies made a perfect backdrop
for the Pterodactyl and in some of the shots you can even see the bright red
LEDs eyes glowing! The flight ended prematurely after four minutes when I
landed the Ptero successfully. The starboard motor had come loose from its
mount and was causing strange noises when the Ptero flew close by. It won't be
a big job to resolve and hopefully the Pterodactyl will be back in the skies
over Leicestershire England very soon. The flight was captured on
video again, so watch this space for a flight video very soon. Once again
many thanks Andy and check out some of Andy's other work on the link above.




Monday, February 27, 2012
The Pterodactyl Maiden Flight
Well after nearly 12 months since the Pterodactyl arrived on my front door step, the day finally arrived where I thought yes, today is the day to maiden her! Walking the dogs at 7am on Sunday morning without a breath of wind and a crisp sunny sunrise, I decided yeah the time was right.
I loaded her into my car along with a few other models and set out on what I hoped, would be an uneventful mornings flying. On arrival at the field, I decided to warm up with my other models before finally going for it! My flying buddies asked if I'd had a photo with it first (hmmm were they not very confident it would return in one piece??), so I decided to pose with the bird first off.
 With the 3S 2200mAh battery installed, I did a receiver range check and checked all the control surfaces once again and then ventured out onto the strip where I hand launched the Pterodactyl into its maiden flight. Wow! Straight up she went and not a word of a lie, but she didn't require any trim on any of the channels. I was stunned in how true and well she flew.
I did numerous circuits before landing just short of five minutes. The landing was pretty fast, but no damage was done. What surprised me however, when I checked the battery, the meter showed there was still 82% of charge left in the pack! 18% for 5 minutes flight! This was one truly happy maiden and the sense of achievement was fantastic given the many hours I'd spent carefully building this beast!
Not content with just one flight, 30 minutes later, I took a fresh 2200 pack and flew the Pterodactyl for just short of 9 minutes. This time, I'd increased the rates and expo slightly, but again she flew like a dream in the 5-8mph wind. Checking the battery this time once landed, and I still had 65% of charge left. She flies around on a quarter throttle easily.
Here’s the video of the maiden flight. Thanks to Ron Marston for designing such a brilliant model which has been a joy to build. Many thanks also to Roy Monk for the help on the build and covering. I look forward to flying her again for many more successful flights. Enjoy!
Tuesday, October 25, 2011
Pterodactyl gets horny!
I'm just waiting for a calm day now and my next Pterodactyl post will be to report on the maiden flight with hopefully a video too. I've really enjoyed building this kit and hope she goes as well as she looks. I'll probably need a valium before launching, but I guess this is what this hobby is all about, committing your work to the sky to see how it handles! Wish me luck!


Tuesday, October 4, 2011
Pterodactyl - Progress or lack of it!
I know I know, there hasn't been a whole lot of progress with Terry over the past couple of months. Rest assured however that my intentions are good to get this bird completed as soon as possible! The body/fusalage has now been covered (see below)! I just need to rig the ailerons up and get it all balanced out. It won't be too much longer, I've just had the distraction of my Tricopter and venturing over to the dark side with Helicopters over the past few weeks! See separate post for some videos of my recent flying.


 Me with my little lad Joseph!


Monday, July 18, 2011
Pterodactyl - Covering commences
The latest pictures show the progress of the Pterodactyl to date. With the help of a good RC friend Roy Monk, we've been able to cover the wing and install the ailerons. The wing has been covered with transparent gold Profilm. I just need to add some horns to the ailerons now and connect up the linkages to the metal gear servos which are installed into the wing. That should pretty well see the wing complete then.


As opposed to the wooden horns which were supplied, I've opted for some plastic horns and installed these on both tail control surfaces. 1.5mm Carbon rods have been used with piano wire with Z bends. I've opted for two Ripmax S100 servos to control the tail surfaces and will show pictures of these installed in a later post.


As opposed to the wooden horns which were supplied, I've opted for some plastic horns and installed these on both tail control surfaces. 1.5mm Carbon rods have been used with piano wire with Z bends. I've opted for two Ripmax S100 servos to control the tail surfaces and will show pictures of these installed in a later post.


Tuesday, June 28, 2011
52" Pterodactyl Wing Progress
Now the distraction of the Addiction X build is out of the way, I've returned to my Pterodactyl build. I'm trying to finalise the wing and other than adding the ailerons and giving it a really good sanding it's pretty well there now. I've decided to cover the wing in transparent yellow profilm, so another few sessions and I should be ready to start applying.
The two speed controllers are in place and sit securely via some velcro on some 3mm depron which I've glued to the carbon spars. The leading and trailing edges have all been applied and rib tops have all been applied.

The speed controllers and wires are all enclosed in now. I just ensured the supplied screens all aligned up by screwing these in place before I glued the final top pieces.

A bit more sanding and the wings will be ready to cover.

Monday, June 20, 2011
Eye Eye - Pterodactyl LED light installation
Having spent the last couple of weeks putting together my Addiction X, the Pterodactyl has not had much of a look in! Well now it can see!
I fed a couple of wires down the neck and have installed some red LED's in the head.


The LED's are pushed into and secured into some depron and this has been glued into the head slightly set back so that the LED does not stick out of the eye.
The eyes lit up inside.


I plan to make a bit more progress this week on the Pterodactyl having completed the Addiction X now.
Tuesday, June 7, 2011
A bit more progress on the Pterodactyl
Not a whole lot of progress this week. I've made the slits for the aieron control horns and fixed the two metal gear servos in place.

The open and lower leading edge wing peices were then added and fitted together very easily. All that remains here is to sand into the wing tips

The upper balsa sheet is added over the servo now I'm satisfied the servo is secure, is connected up and has suitable control throw movement.

I've also decided on the covering and I've purchased a role of transparent yellow ProFilm for the wings and have ordered some transparent green for the body. I'm also toying with adding some red LED's into the head for the eyes! I plan to progress a bit further this week, but I've also got the distraction of a new Precision Aerobatics Addiction X which I'm building up at the same time (look out for a post or two on this soon!). All good fun!
Wednesday, May 25, 2011
I'll tell you a tale...I mean tail!
Moving onto the tail section now. Each of the pieces were glued together after giving them a good sanding. As instructed, I then angle sanded each of the tail sides as well as the rear of the body where the tail will be joined. The supplied angle jig enabled me to get the correct angle before gluing. In mounting the tail pieces to the body, I used some epoxy resign just to give it a bit of extra strength.


The wing and body are again joined to check alignment. Just a bit of sanding here and there and everything was spot on.


I'll now move back onto the wing and try to get the servos installed into the body ready for the fixing up to the V-tail.


The wing and body are again joined to check alignment. Just a bit of sanding here and there and everything was spot on.


Subscribe to:
Posts (Atom)